With mostly functional hardware in hand, it was time to give the programmable load software some attention. And thus begins my journey into building an embedded Linux distribution.
My previous experiences with embedded Linux were not exactly anything to write home about. Whether it was the horrendously out-of-date vendor-provided distros, bloated builds, or slow iteration times, I was hesitant to go all in on Linux again. Thankfully, a large part of my previous issues came down to crappy distributions: something I could very easily solve.
I don’t have a bunch of pretty pictures this time around, since this is mostly about the software side of this project. I realized there’s not a whole lot out there on doing stuff with the STM32MP1, especially if you don’t want to use the ST Linux distribution.
Linux from Scratch
Let’s get on to building our very own Linux distribution. My previous experiences with Linux showed me that it can very quickly become a large, bloated mess, so first and foremost, I wanted this distribution to be as small as possible. Additionally, I wanted the following features:
- Easily repeatable builds: There should be no manual steps to produce a bootable image; and builds should produce identical images, given identical build configurations.
- Low runtime overhead: My target hardware is a single core Cortex-A7 chip running at 650MHz with 512MB of RAM – certainly no speed demon. The distribution must minimize the number of processes running and their resource consumption. This rules out a bunch of “typical” desktop Linux technologies, especially any graphics frameworks that assume we have a GPU.
- Always up-to-date: Strive to use the latest versions of all components, using long-term support versions where possible.1
It should also be easy to integrate with any custom components – though I use pretty much exclusively CMake these days, and support for that in the Linux world seemed to be decent.
Building a Distribution
However, building a Linux distribution is a rather big undertaking: beyond just the kernel, there are hundreds of libraries and runtime components necessary to build a useful system. And I was not particularly keen on writing shell scripts or manually running hundreds of commands to get an image. I wanted as close to “click button, get image” as I could possibly get.
Here I was very pleasantly surprised because it turns out, that very tool exists!
Yocto
Pretty quickly I found out about Yocto, which is a pretty cool set of tools that enable you to deterministically build a Linux distribution from source. It handles just about everything, from bootstrapping toolchains and other tools, to handling sysroots and fetching sources. Pretty neat.
In this case, you build up your distribution with various layers. Each layer in turn can provide (among other things) recipes: instructions for building a single project. Additionally, upper layers can override the configuration done by lower layers: something incredibly powerful as it allows you to write a layer for a particular product that can, for example, fix the kernel and bootloader versions, or apply custom patches to their source.
Building an image is in fact just a single command (once your shell environment is set up, anyways, but that’s a “once-per-boot in a tmux session” type deal) and it properly handles incremental builds.
The only “downside” (as expected for any build tool like this) is that you need a few hundred gigs of free disk space, and quite a bit of time. On a 20-core VM, a full system build from scratch takes around an hour; subsequent builds can be as quick as a few seconds. Rebuilding the kernel and bootloader takes about two minutes to produce a bootable image.
OpenSTLinux
As I mentioned last time, ST is relatively good about upstreaming their drivers and other code into the Linux kernel, which significantly reduces the need for using the vendor-provided Linux images and tooling. Nevertheless, they provide their own distribution that’s supported out of the box. This is also built on Yocto and seems like a logical starting point.
However, I found that this distribution is rather heavy: it clocked in at almost 300M of flash and needed almost as much RAM just booted up doing absolutely nothing. It seemed like this distro was more geared towards the more powerful STM32MP153/157 which have an additional CPU core and even a 3D GPU.
Overall, it’s nice that it exists, and ST did a great job compared to most other embedded vendors, but I didn’t feel like spending a bunch of time stripping out stuff I didn’t need.
Custom Distribution
Thankfully, Yocto makes it super easy to build a totally custom distribution. This is done by creating a new Bitbake layer – in this case, meta-programmable-load and adding it to the local Yocto configuration. You then set the desired distribution and machine, and you’re ready to start building images.
Actually creating the distribution is not too difficult: most of this is done with a single distribution file that defines basic information about the distro, as well as what features and packages to install into any base image that’s built with it. This is also where the choice of init systems (systemd vs SysV) and so forth takes place.
To then target this distribution for particular hardware, create one or more machine files for them. These specify some information needed to boot the system and configure the bootloader, and can as well add more packages to the build.
In addition to the machine files, it will likely be necessary to create some patches to Linux and U-Boot, if for no other purpose than to add your device’s custom device trees. You can probably get by with using existing ones if you’re not making huge changes, and for testing on development/eval boards, you can use the existing device trees.
Lastly, you’ll likely need to create a custom Kickstart (.wks) file that specifies how the output image is created. You can think of it as a spicier partition map:
1
2
3
4
5
6
7
8
9
10
11
12
# short-description: Create eMMC image for programmable load
# long-description: Creates a partitioned eMMC image for programmable load, to be flashed into
# the eMMC on the board.

### bootloader partitions
part ssbl --source rawcopy --sourceparams="file=u-boot.img" --ondisk mmcblk --size 2M --part-name ssbl1
part ssbl --source rawcopy --sourceparams="file=u-boot.img" --ondisk mmcblk --size 2M --part-name ssbl2

### system data partitions
part / --source rootfs --ondisk mmcblk --fstype=erofs --mkfs-extraopts="-zlz4hc" --align 2048 --size 256M --active --part-name rootfs

bootloader --ptable gpt
Here, I’m creating two partitions for the U-Boot second stage loader, and then a 256M root filesystem partition, formatted as EROFS.
Eventually, there’ll be two rootfs partitions of ~768M each, to allow for redundancy and failsafe updates. The remainder of the eMMC (around 2 gigs) is reserved for a persistent user data partition: this is created on the first boot, so it doesn’t exist in the partition table of the image flashed into eMMC. This one’s formatted as F2FS which provides reasonable performance and data security guarantees.
Aside: Custom Filesystems
One of the major reasons that I didn’t want to use OpenSTLinux was because it forces all filesystems to be ext4. This is great for interoperability with other Linux machines, and because there is a large amount of tooling out there around the ext2 (and thus all subsequent versions) filesystem.
The main issue was that it does not provide a great way to create a compressed read-only version for a root filesystem: the only protection against writes is mounting it as read-only, which sucks. The lack of compression also means that we waste precious space on the eMMC: not necessarily a problem because the root system needs it, but because it takes away from the number of blocks the memory can use internally for reallocations.
Booting Linux from read-only rootfs images is relatively well supported in the embedded world, through stuff like squashfs. I went with EROFS here instead since it’s newer and faster than any other options out there. This did cause some pain initially (since I needed to use the latest U-Boot version, which seems to still have some bugs) but thankfully nothing major.
ext4 also isn’t particularly well suited to eMMC storage; F2FS ensures greater performance, and more importantly, also spreads out the read/write wear over the entire partition due to its log-structured nature. This is ideal since I’ll likely be doing a lot of IO to the same small files over the runtime of this thing.
Now What?
This entire Linux thing is neat, it spits out an image I can load into the eMMC on the board and boot from. Skipping over the several days of debugging weird issues on real hardware (if your machine panics because it can’t find the rootfs, you probably forgot rootwait in the kernel command line…) I had a custom, repeatable operating system build for my system2.
I figured a reasonable next step was getting going with some of the features that make this STM32MP15x family so interesting: in this case, the embedded M4 core for real-time firmware. I already had some original firmware written for the ATSAME51J20A used in the original hardware.3
Asymmetric Multiprocessing
Since a Cortex M4F can’t run mainline Linux, I’m running FreeRTOS on it to provide some semblance of operating system semantics. This brings up the obvious question: how do these two completely independent processors communicate?
Turns out that in the Linux world, the OpenAMP project and its associated interfaces are pretty popular. As part of this, the Linux kernel implements the remoteproc and rpmsg frameworks out of the box, and ST was nice enough to write drivers for these.4
From the perspective of code running on Linux, communication with the M4 side is as easy as writing to a file. And with a little bit of clever code, the interface on the M4 side isn’t much worse.
rpmsg Primer
The basic premise of the rpmsg framework is that it provides the notion of endpoints – which are identified by a source and destination id, and an optional name – over which you can exchange messages. The underlying transport is abstracted away from the user, for a nice clean API on both the Linux and M4 side.
On our hardware, all the communication happens through some buffers in the M4’s SRAM, over an abstracted virtio message ring. (How cool is that?) There’s also a doorbell (provided via hardware) to notify either side that there’s a new message or the message has been processed. Some of these doorbells are also used to send shutdown notifications, to allow the M4 firmware to clean up gracefully.
Linux Support
Thankfully, there’s not a whole lot of work to be done to get all of this working: most of it magically works out of the box, with the proper kernel configuration switches enabled.
One minor difficulty I encountered here was how there’s next to no documentation on how to actually open the rpmsg channels and communicate over them from userspace. Most resources point you to the kernel APIs, including writing your own driver to get at the messages. However, the rpmsg_chrdev driver provides an interface that exports endpoints to userspace as character devices. More on that later.
Resource Manager
Something to keep in mind is that while the M4 core runs its own firmware, it’s still dependent on the Linux side to handle stuff like enabling clocks and managing voltage regulators. In OpenSTLinux, this is handled by the resource manager which runs in the kernel and provides its own rpmsg endpoint.
Communication to the resource manager is initiated by a small C interface that sends messages to the rproc-srm endpoint: an endpoint that’s supposed to magically cause the resource manager to be loaded.
Turns out this resource manager is not included in mainline Linux – in fact, it’s the only component in this entire build that’s not in the mainline Linux kernel. Thankfully, it was easy enough to pluck the appropriate source files out of ST’s Linux fork and copy them into my distro to get compiled into the kernel.
Putting it Together
I’ll show briefly how you can use the rpmsg framework to communicate with code running on the M4 core from Linux. We’ll assume that the M4 firmware works, and has OpenAMP implemented, and thus can advertise endpoints to the host – you’ll see a message printed to the kernel log for every announcement. I’m also in this case using static endpoint IDs on the firmware.
Once that’s done, you should see a new device as /dev/rpmsg_ctrlN; this is the control device of the rpmsg_chrdev driver. We can issue some ioctls against it to create a character device for a particular endpoint:
1
2
3
4
5
6
7
8
9
10
11
12
13
14
15
16
17
18
19
20
21
22
23
24
25
26
#include <fcntl.h>
#include <unistd.h>
#include <linux/rpmsg.h>
#include <sys/ioctl.h>
#include <system_error>

/**
 * @brief Open an rpmsg endpoint
 *
 * The resulting endpoint is available as /dev/rpmsgN.
 *
 * @param remoteAddress Endpoint address on the remote (should be fixed)
 * @param name Remote endpoint name
 */
void open_ep(int fd, const uint32_t remoteAddress, const char *name) {
    struct rpmsg_endpoint_info ept{};
    ept.src = -1;
    ept.dst = remoteAddress;
    strncpy(ept.name, name, sizeof(ept.name));
    ept.name[sizeof(ept.name) - 1] = '\0';

    int err = ioctl(fd, RPMSG_CREATE_EPT_IOCTL, &ept);
    if(err < 0) {
        throw std::system_error(errno, std::generic_category(), "RPMSG_CREATE_EPT_IOCTL");
    }
}
This ioctl will create the actual character device for the endpoint as /dev/rpmsgN, which can be opened just like any other file.
And because it’s just like any other file, you can do IO on it as normal: this means you can even use something like libevent to run an event loop, waiting on events from various file descriptors (sockets, files, etc.) Fundamentally, this is just another file descriptor: and I take advantage of this to “enlighten” some of my services to accept requests from the M4 directly, in addition to their local RPC interface.
You can see a more fleshed-out implementation of this in the source for loadd, the daemon handling the lifecycle of the M4 core, as well as its remote interfaces.
Conclusion
That’s all folks! Unfortunately, much of this software work doesn’t make for particularly riveting writing or pretty pictures, but it should hopefully set the groundwork for some more interesting posts in the next few weeks as I get more of this boring “under the hood” stuff knocked out, and I receive the next revision of the hardware.
Until then, you’ll be able to find the following repos on my GitHub with progress on the project:
- meta-programmable-load: OpenEmbedded/Yocto layer containing all customizations to build the system, as well as the source for many of the custom components of the system software stack. Custom device trees also live here.
- Hardware: Watch out for the rev 4 controller and front panel boards here in the coming week or so, once I get the new front panel back and can confirm everything fits.
- Embedded firmware: The existing firmware that’s slowly getting ported to the STM32MP15x.
As always, feel free to get in touch if this sounds interesting or if you’ve got advice. For now, I’ll leave y’all with a pretty picture of what’s to come:
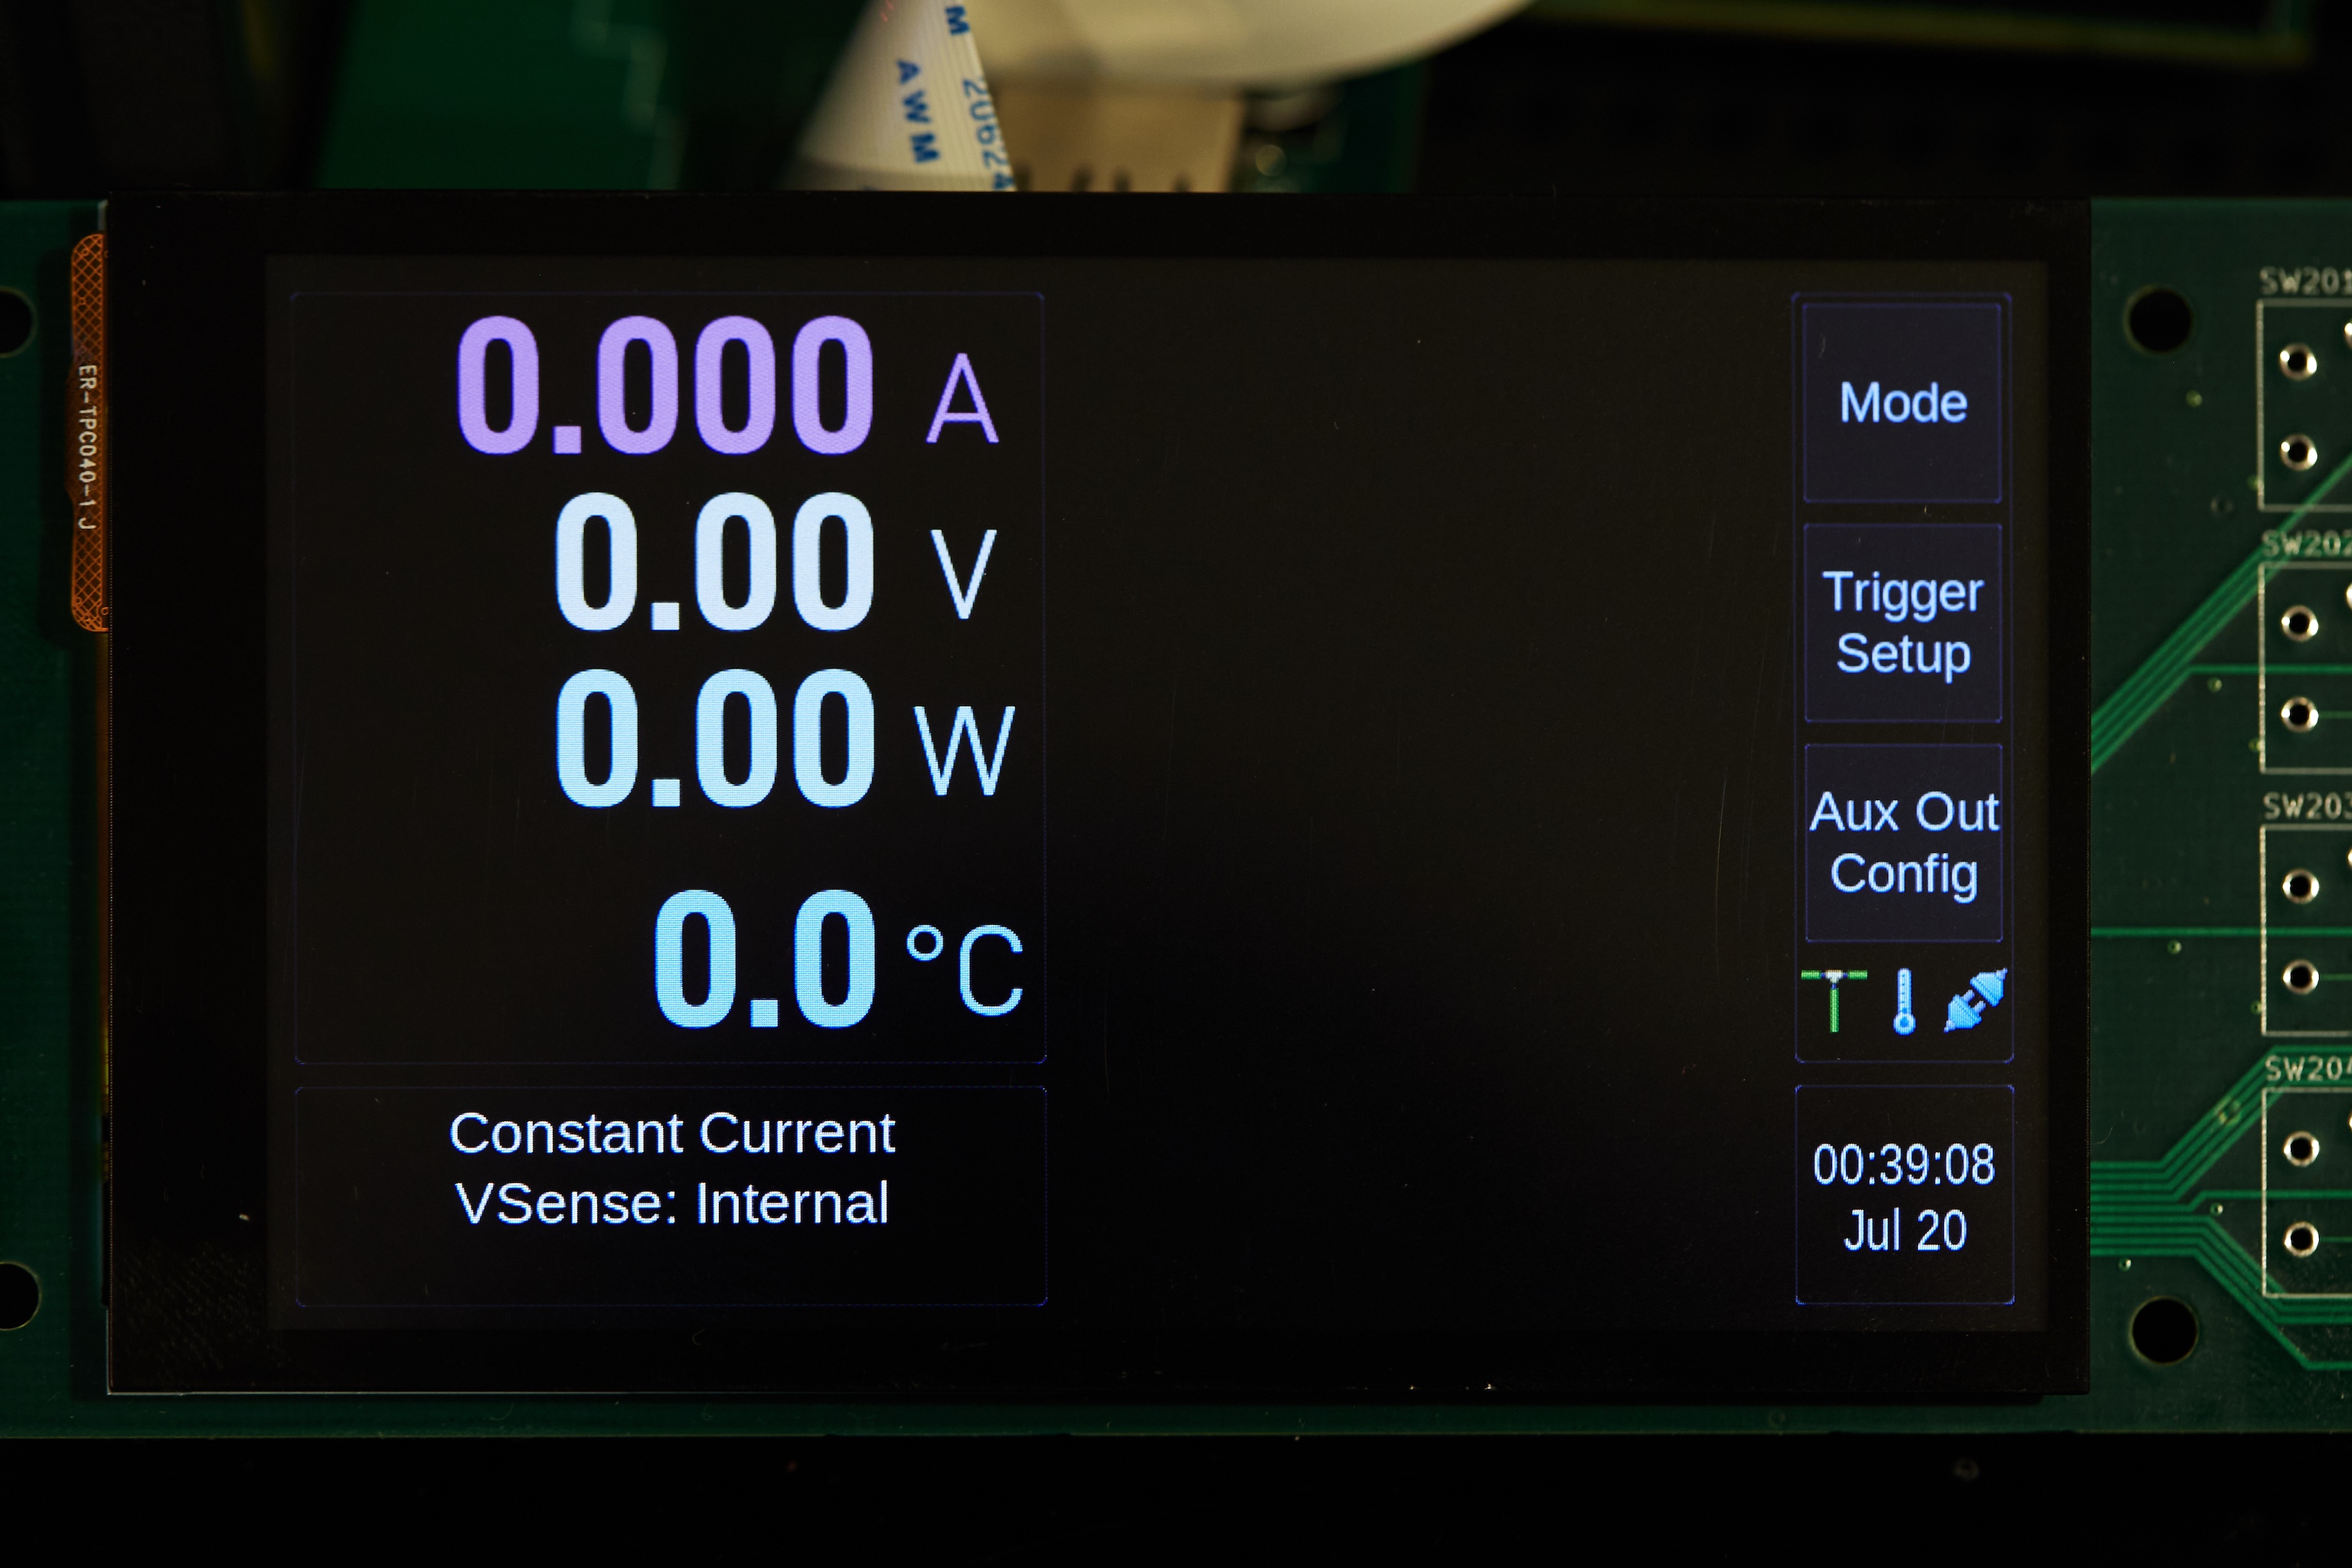 The work-in-progress load user interface, rendered by a custom UI framework at 800x480. I’m impressed with this 3.97” $18 display!
Additional Resources
Here’s a list of some work other folks have done, particularly around the STM32MP15x family of chips that helped me out:
- Benchmarking the STM32MP1 IPC between the MCU and CPU: An interesting investigation into the performance of different ways to do IPC to the M4 core. Surprisingly this is one of the few non-ST things out there on how to use remoteproc/rpmsg stuff, and thankfully without endless layers of cruft. (Also: nice theme!)
- meta-stm32mp1: An OpenEmbedded layer for adding support for the STM32MP1 using upstream sources; I’m honestly not sure why I didn’t just use this as a base.
I also ended up having to do a load of spelunking in the kernel and U-Boot sources; though the latter is much more manageable.
Too many embedded distributions settle on some ancient kernel and other components version and apply their weird (completely undocumented!) patches on top of those. ↩
I spent a while trimming out random crap from the kernel and rootfs. As of now, I’m down to ~52M on-disk size, and roughly 40M of RAM used when the system is booted – a far cry from the default OpenSTLinux distro! There’s probably even more savings to get out of the kernel, too. ↩
Porting over the firmware was surprisingly easy: I had a blinking LED and basic output (via the remoteproc trace buffer) to the host in just an hour or two. Most of this was since the ATSAM D5x chips are also Cortex M4F’s like we’re dealing with here. As I alluded to before, I want to build a modular base for all my embedded stuff, and it seems like this firmware is a good place to start. Perhaps more on that another time… ↩
See the ST Wiki documentation for a decent overview of how all these pieces fit together. ↩